
Engraving Cavasses. Just like painting, but in reverse, and with fire.
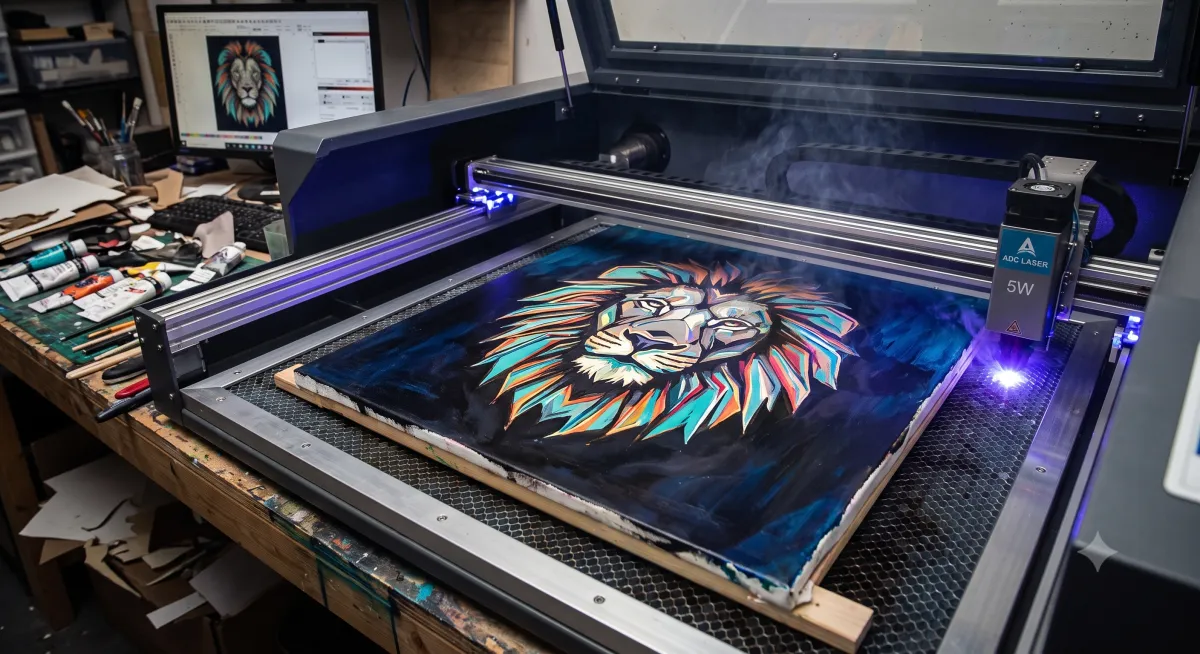
If you look at the Custom Engraved Easels on the storefront, it’s easy to assume the process is binary. You take a white canvas, paint it black, and use the laser to burn the black away to reveal the white underneath. High contrast, job done, right?
Not even close.
If you just use black and white, the resulting image looks harsh—like a photocopier running out of toner. It lacks soul. To get a high-resolution photograph to actually look like a piece of art, you need mid-tones, depth, and shadows. You need a secret weapon.
In the MakerLab, that secret weapon is a multi-stage, triple-layer painting process.
The Prep Work
Before a canvas ever gets near the XTool M1 laser bed, it undergoes a meticulous prep routine on the workshop bench.
- Layer One (The Base): First, the raw canvas is coated in a clean, solid white. This will become our pure highlights—the brightest spots of the final photograph.
- Layer Two (The Secret Weapon): Once the white is completely dry, I hit it with a layer of metallic silver.
- Layer Three (The Top Coat): Finally, a solid coat of matte black goes over the top, sealing the silver and white in complete darkness.
Why go to all that extra effort just to cover up a beautiful silver finish with black paint? Because of how the laser interacts with the different depths.
Tuning the Beam
This is where the engineering mind has to take over. A laser doesn't have an "adjust color" button; it only understands speed, power, and focus.
By meticulously dialing in the settings, I can control exactly how deep the laser burns. Where the photograph calls for pure white highlights, the laser runs at full power, vaporizing both the black and silver layers in a split second to expose the bright base canvas.
But where the image calls for soft shadows and gradients, the laser is throttled back. It gently kisses the canvas, burning away just the top layer of black paint to reveal the metallic silver underneath.
That silver layer adds an incredible bit of shadow play and texture to the final piece. It catches the ambient light of the room and gives the engraved photograph a brilliant touch of je ne sais quoi that you simply cannot get with a standard print.
The Finishing Touch
Once the burn is complete, the canvas is cleared of residual soot, inspected for perfection, and paired with a custom-cut wooden easel display stand.
It is a long, multi-day process of painting, curing, laser calibration, and testing, but when you see a high-res family photo emerge out of the dark paint with real, metallic depth—every single coat is worth it.